

















SAY YOU’RE BUSY WITHOUT SAYING A WORD.
The viral office busy light with a customizable screen. Now with standalone mobile app and remote control.
SAY YOU’RE BUSY WITHOUT SAYING A WORD.
★ 4,581+ units sold
The viral office busy light with a customizable screen. Now with standalone mobile app and remote control.
€ 79.00
VAT included
See Busy Tag 2 in action: show your status your way and cut the unnecessary interruptions.
Ships worldwide, 30-day returns.
Explore the six key features, then watch them in action.
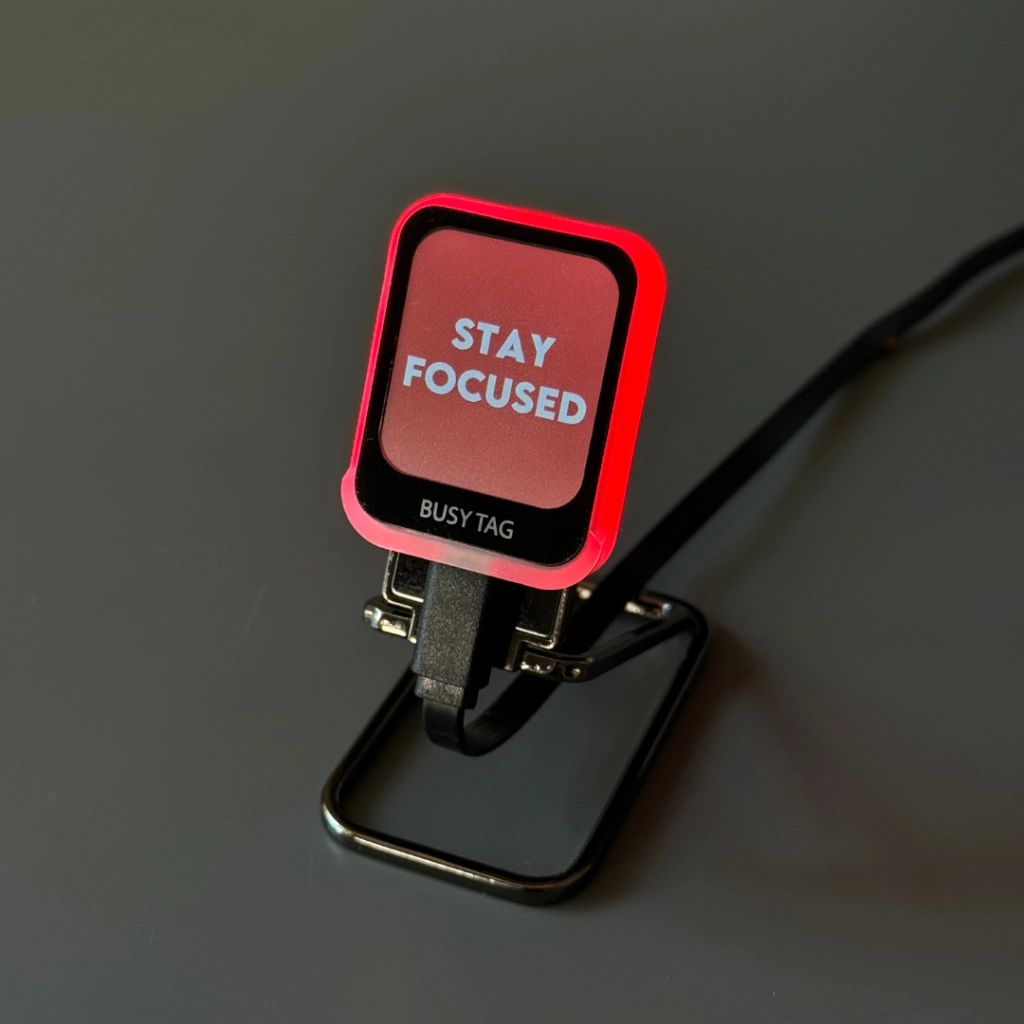
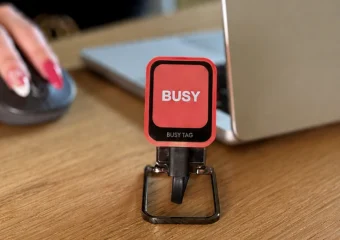
Show your availability to your coworkers or family members through the busy-light.
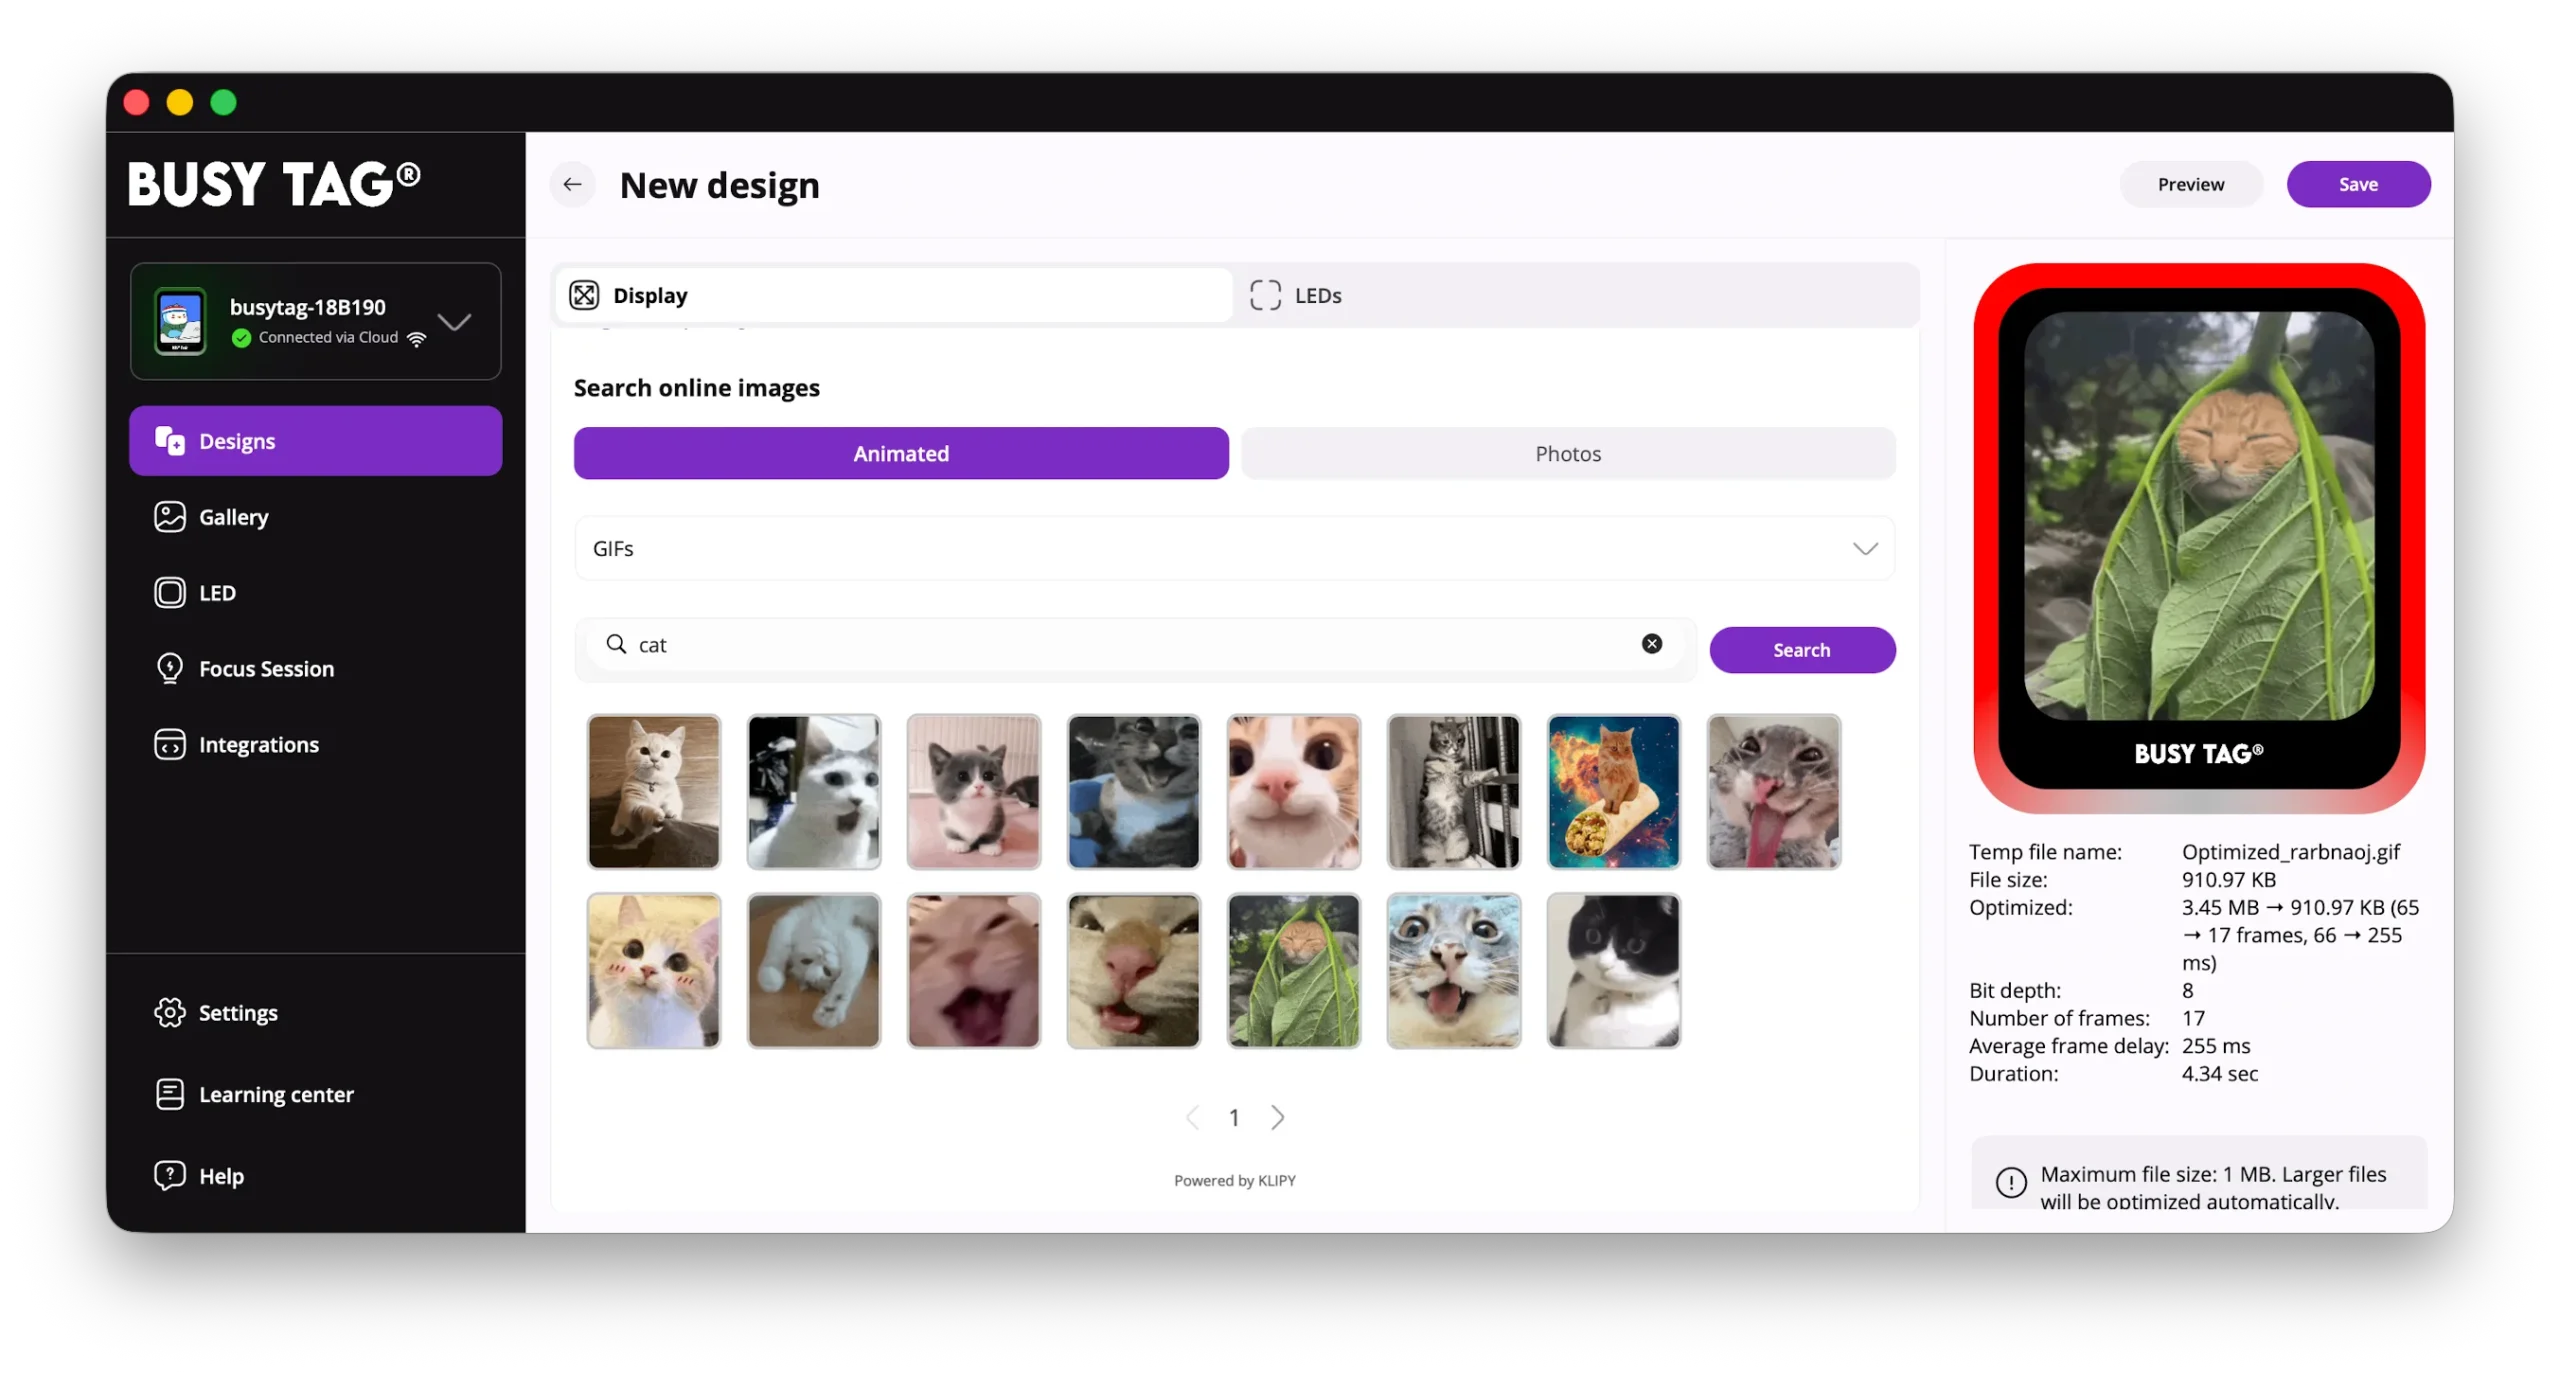
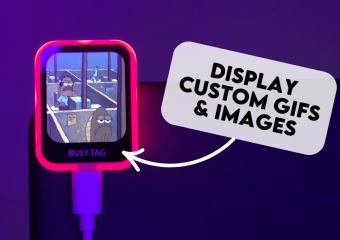
Create your own designs or choose from our online gallery.
Place Busy Tag anywhere and connect without relying on a direct USB data connection.
Manage settings and control your Busy Tag from our mobile app without a desktop app bridge.
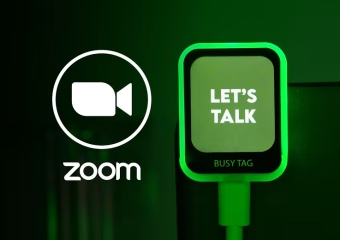
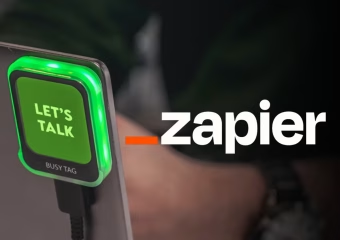
Connect with Microsoft Teams, Google services, Claude AI and other productivity tools.
Build custom workflows around the events and systems that matter to your team.
Whether you work from home or in a shared office, Busy Tag 2 makes your availability clear at a glance
Cut interruptions by 46%. A standalone mobile app runs everything, even on IT-restricted computers.
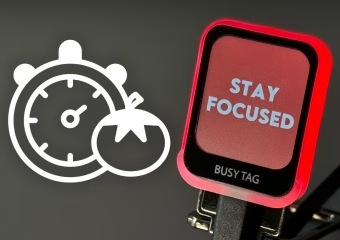
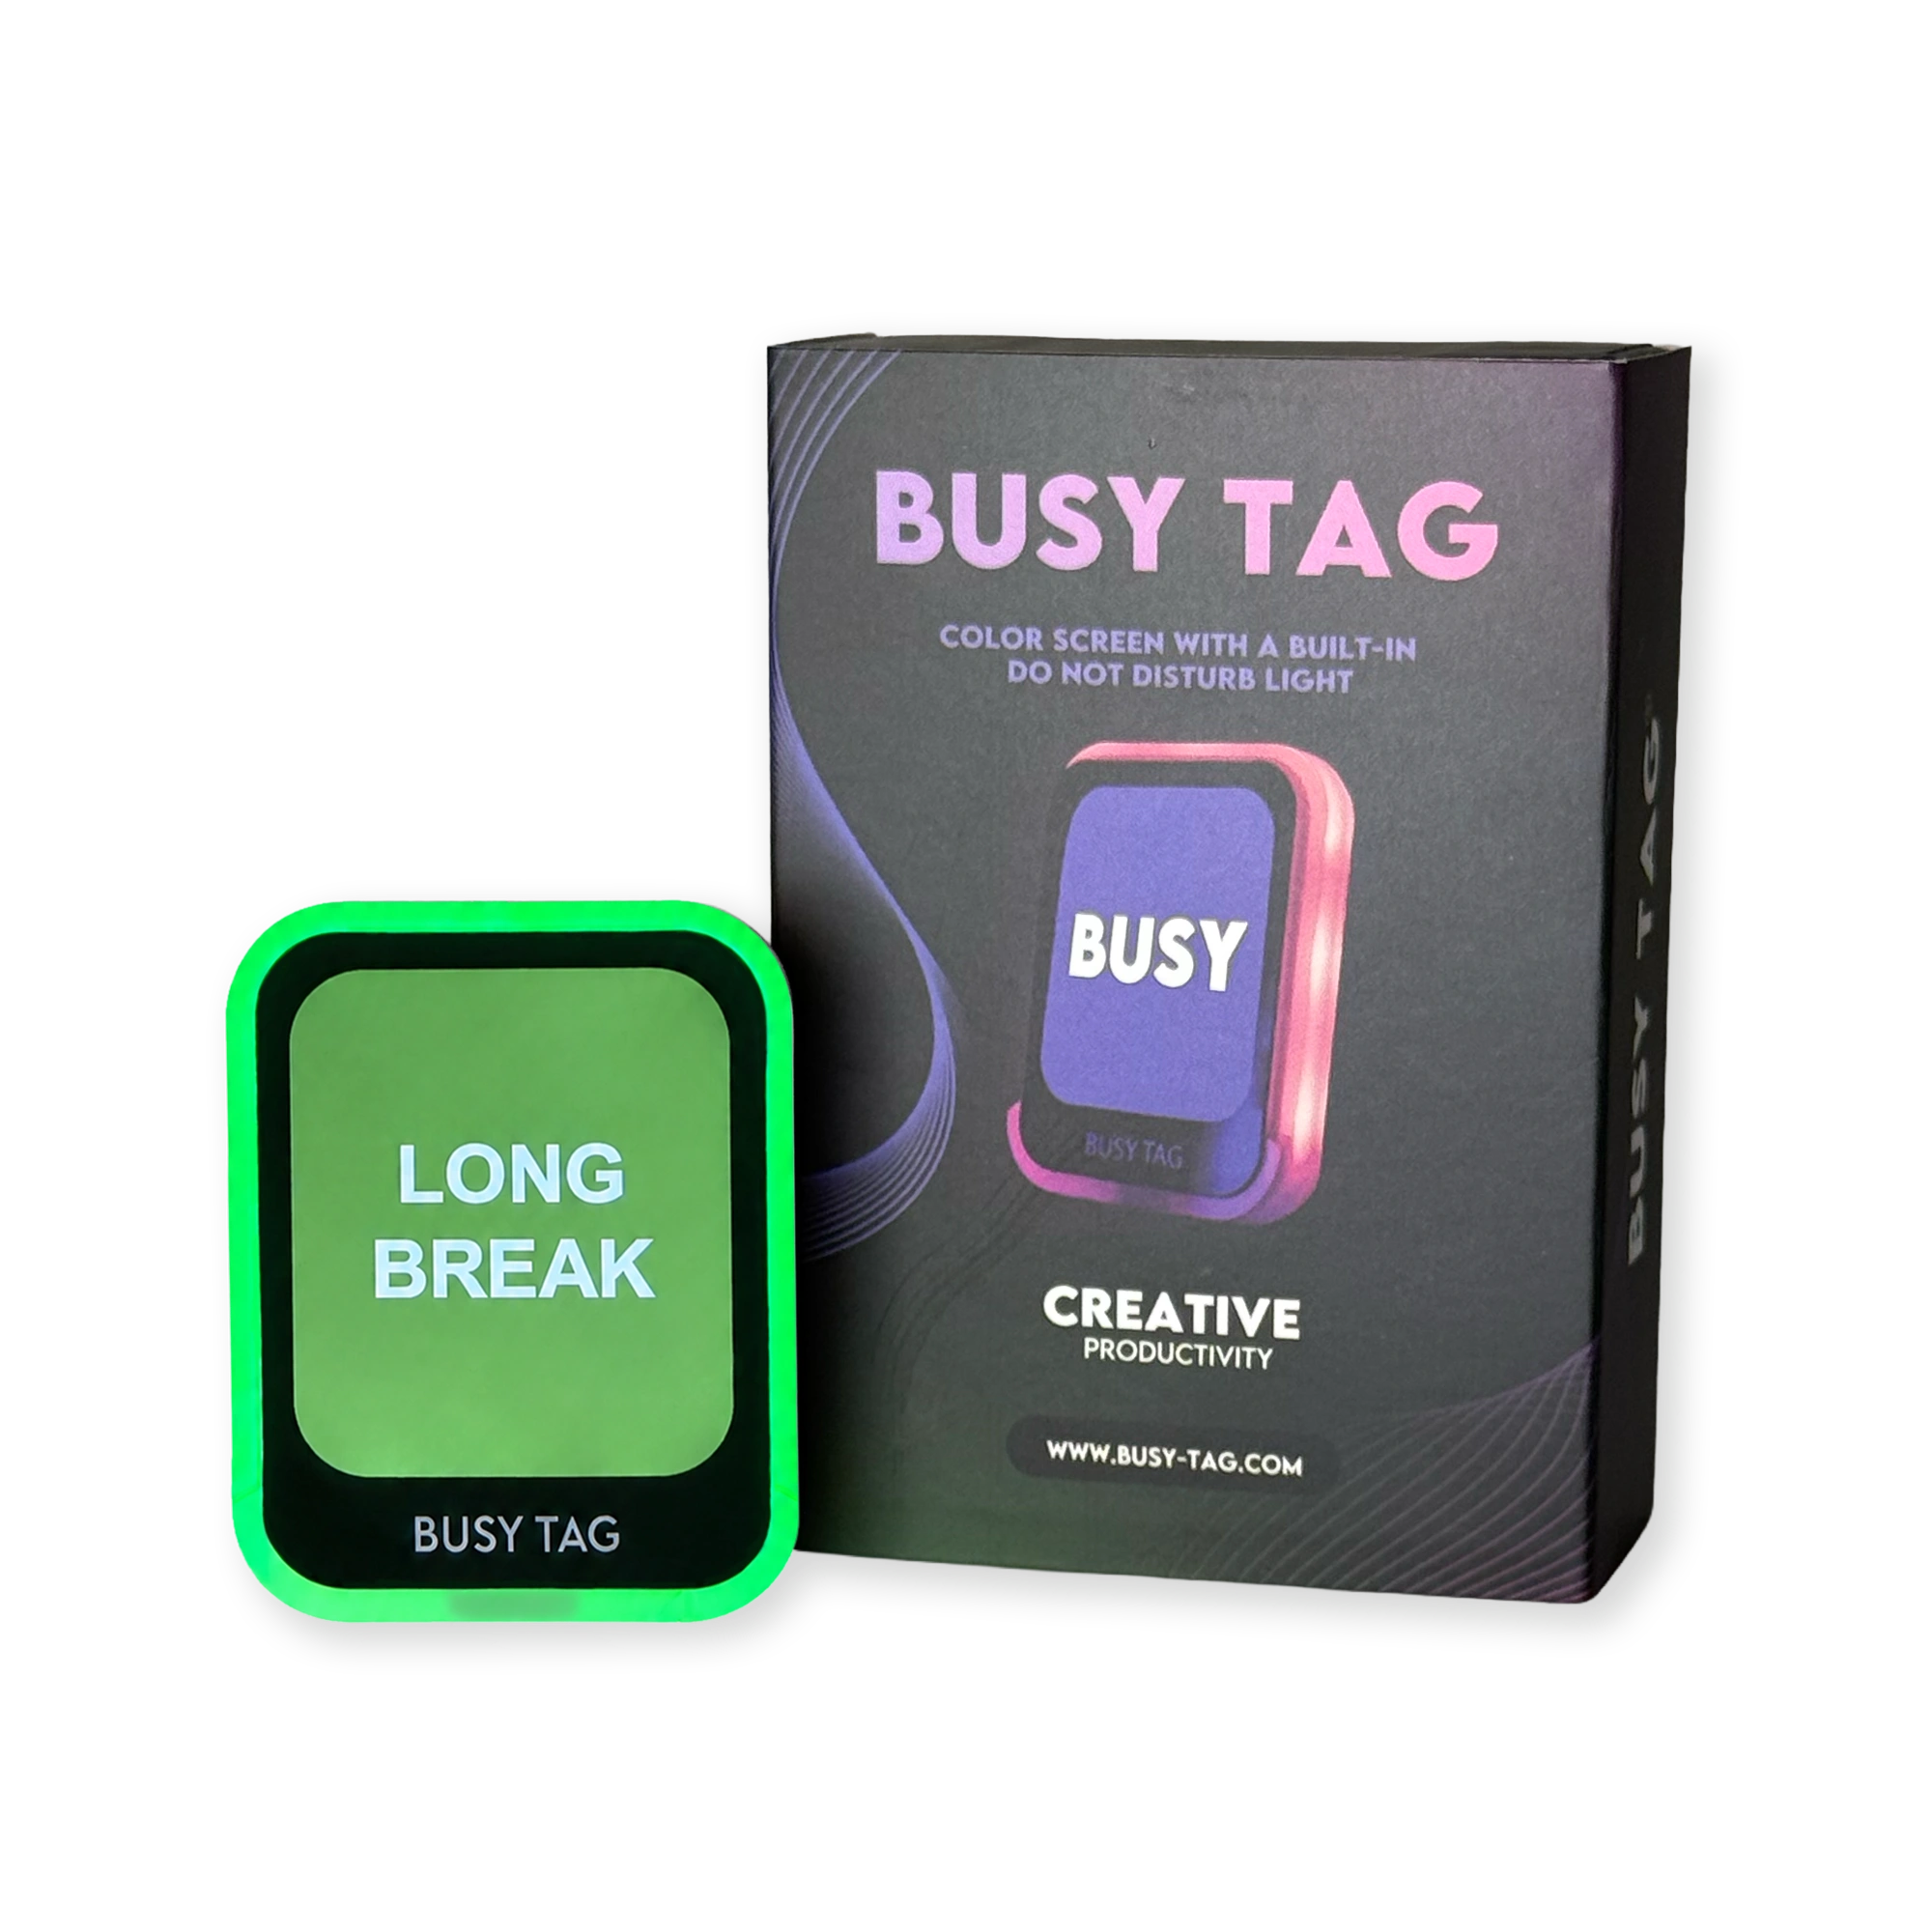
The light shows you're busy, the screen shows why: a GIF, an image, or "In a meeting." No guessing what a color means.
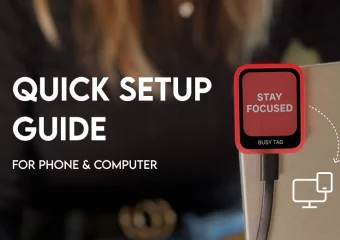
Set up and change your status from your phone or computer.
Decide to stay in? Set your office Busy Tag to "Working from home" from the couch.
No user accounts. Download the app, scan the QR code, connect over Wi-Fi. That's the whole setup.
Runs on any USB-C charger and stays off the company computer.
More freedom to place it anywhere, control it from anywhere, and automate your status while keeping everything you love about Busy Tag
Once your Busy Tag 2 is connected to a Wi-Fi network you can control it from anywhere.
Manage settings, visuals and status from the mobile app. The old Busy Tag required a desktop app bridge.
Power Busy Tag 2 from any USB-C charger and set it up in the app. No computer connection required.
Power Busy Tag 2 from any USB-C charger and set it up in the app. No computer connection required.
Set up and control everything from one app, on mobile or desktop.
Plug into any USB-C charger or your computer.
Scan the QR code on your Busy Tag 2 screen to finish setup.
Customize every Busy Tag with your own visuals, or build powerful workflows with the Developer API.
Build custom integrations and automate your workflow.
Easily create and customize your own unique designs right there in the BusyTag app. GIFs, Images & stickers integrated.
Complete your Busy Tag setup with optional accessories for even greater flexibility.
€ 9.99
€ 15.00 Original price was: € 15.00.€ 8.99Current price is: € 8.99.
€ 15.00 Original price was: € 15.00.€ 8.99Current price is: € 8.99.
Video tutorials for setup, customization, integrations and device management.
Connectivity
Wi‑Fi, USB cable
Power
USB‑C power source
Setup via mobile app
Scan QR code
Setup via desktop app
Requires USB-C data connection
Display & light
Full-color 1.69″ LCD
7 RGB LEDs
Dimensions
36 x 46 x 8 mm (1.42 × 1.81 × 0.31”)
Resolution
240 x 280, 262K color display
Weight
20 g
Consumption
Rated power up to 500 mA
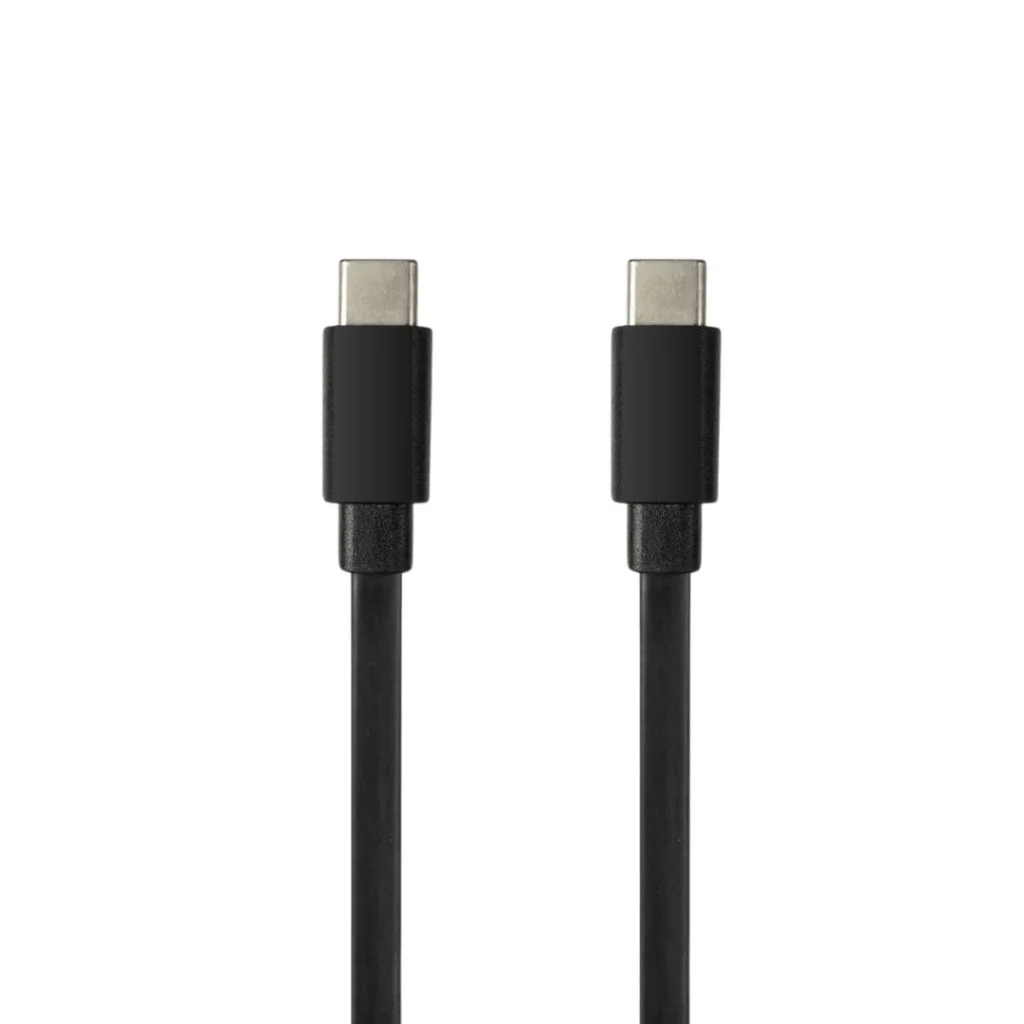
Included cable
USB-C to USB-C cable
Microsoft Teams integration
Available via desktop app
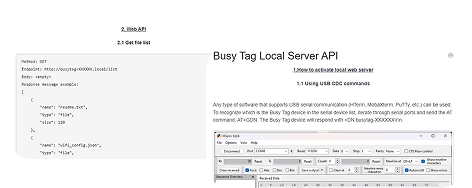
Developer API
REST API available
A direct comparison of connectivity, setup and management.
|
Busy Tag 2
New
|
Busy Tag | |
|---|---|---|
| Primary connectivity | Wi-Fi & USB-C data cable | USB-C data cable |
| USB-C cable included | Yes | No |
| Initial setup | Mobile or desktop app | Only via desktop app |
| Mobile app control | Yes | Only via desktop app bridge |
| Works without direct connection to your computer or phone | Yes | No |
| Custom visuals & GIFs | Yes | Yes |
| Developer options | Custom scripts / existing API path | Custom scripts / existing API path |
Choose Busy Tag 2 for a Wi‑Fi-first workplace setup.
The first generation remains available on its own product page.
Key information about setup, power, integrations and company deployment.
Step 1: Find your GIF on Google. For example, by searching "Michael from The Office GIF".
Step 2: Download the GIF by right clicking on it.
Step 3: Go to the Busy Tag GIF converter and convert your GIF. You can find the converter in the website's main menu. You can also click here.
Step 1: USE Canva or any other design tool to make your own GIFs.
If using Canva, click on "Create a design", then on "Custom size" and enter the width at 240px and the height at 280px. You can use any other design platform too, as long as you follow the visuals' required specifications.
Step 2: Use Canva's design functions to make your own GIF.
Step 3: Use the Busy Tag GIF converter to format the GIF for the Busy Tag.
1.1. Choose or make a GIF or an image you want to display – refer to the "Creating Custom GIFS" or "Creating Custom Images" tabs.
1.2. Drag and drop the custom GIF of image on the Busy Tag. See more in the "Visuals' specs" tab.
1.3. Display the custom visual by selecting "Custom" in the "Solid colors" section of the app. Choose a color for the LED lining on the custom color slider.
drag and drop in your selected pictures or GIFs according to visuals' specifications without using software.
STEP 1: OPEN CANVA OR ANY OTHER DESIGN TOOL to make your own images.
STEP 2: If using Canva, click on "Create a design", then on "Custom size" and enter the width at 240px and the height at 280px.
NOTE: You can use any other design platform too, as long as you follow the visuals' required specifications.
STEP 3: Use your chosen tool's design functions to make your own image.
STEP 4: Save the image, drag and drop it into the Busy Tag like you would on a flash drive.
STEP 5: To display the custom image, open the Luxafor app, open the "Solid colors section", click on "Custom" and choose a color for the LED busy light.
1. Your chosen pictures and GIFs should have a resolution of 240x280 and a size not larger than 1MB.
2. Please make sure that the customized file's name is: “custom” so the device can recognize it.
3. Keep an eye on the memory status of the device for the best performance of Busy Tag.
4. You can easily convert your GIFs for the Busy Tag here.
No account yet?
Create an AccountWe use cookies on our website to see how you interact with it. By accepting, you agree to our use of such cookies
Manage your cookie preferences below:
Essential cookies enable basic functions and are necessary for the proper function of the website.
Google Tag Manager simplifies the management of marketing tags on your website without code changes.
These cookies are used for managing login functionality on this website.
Statistics cookies collect information anonymously. This information helps us understand how visitors use our website.
Clarity is a web analytics service that tracks and reports website traffic.
Service URL: clarity.microsoft.com (opens in a new window)
SourceBuster is used by WooCommerce for order attribution based on user source.
Marketing cookies are used to follow visitors to websites. The intention is to show ads that are relevant and engaging to the individual user.
You can find more information in our Cookie Policy and Privacy Policy.
Send us a note and we’ll give you an offer right away!

Send us a note and we’ll give you an offer right away!
Send us a note and we’ll give you an offer right away!
Send us a note and we’ll give you an offer right away!
Send us a note and we’ll give you an offer right away!